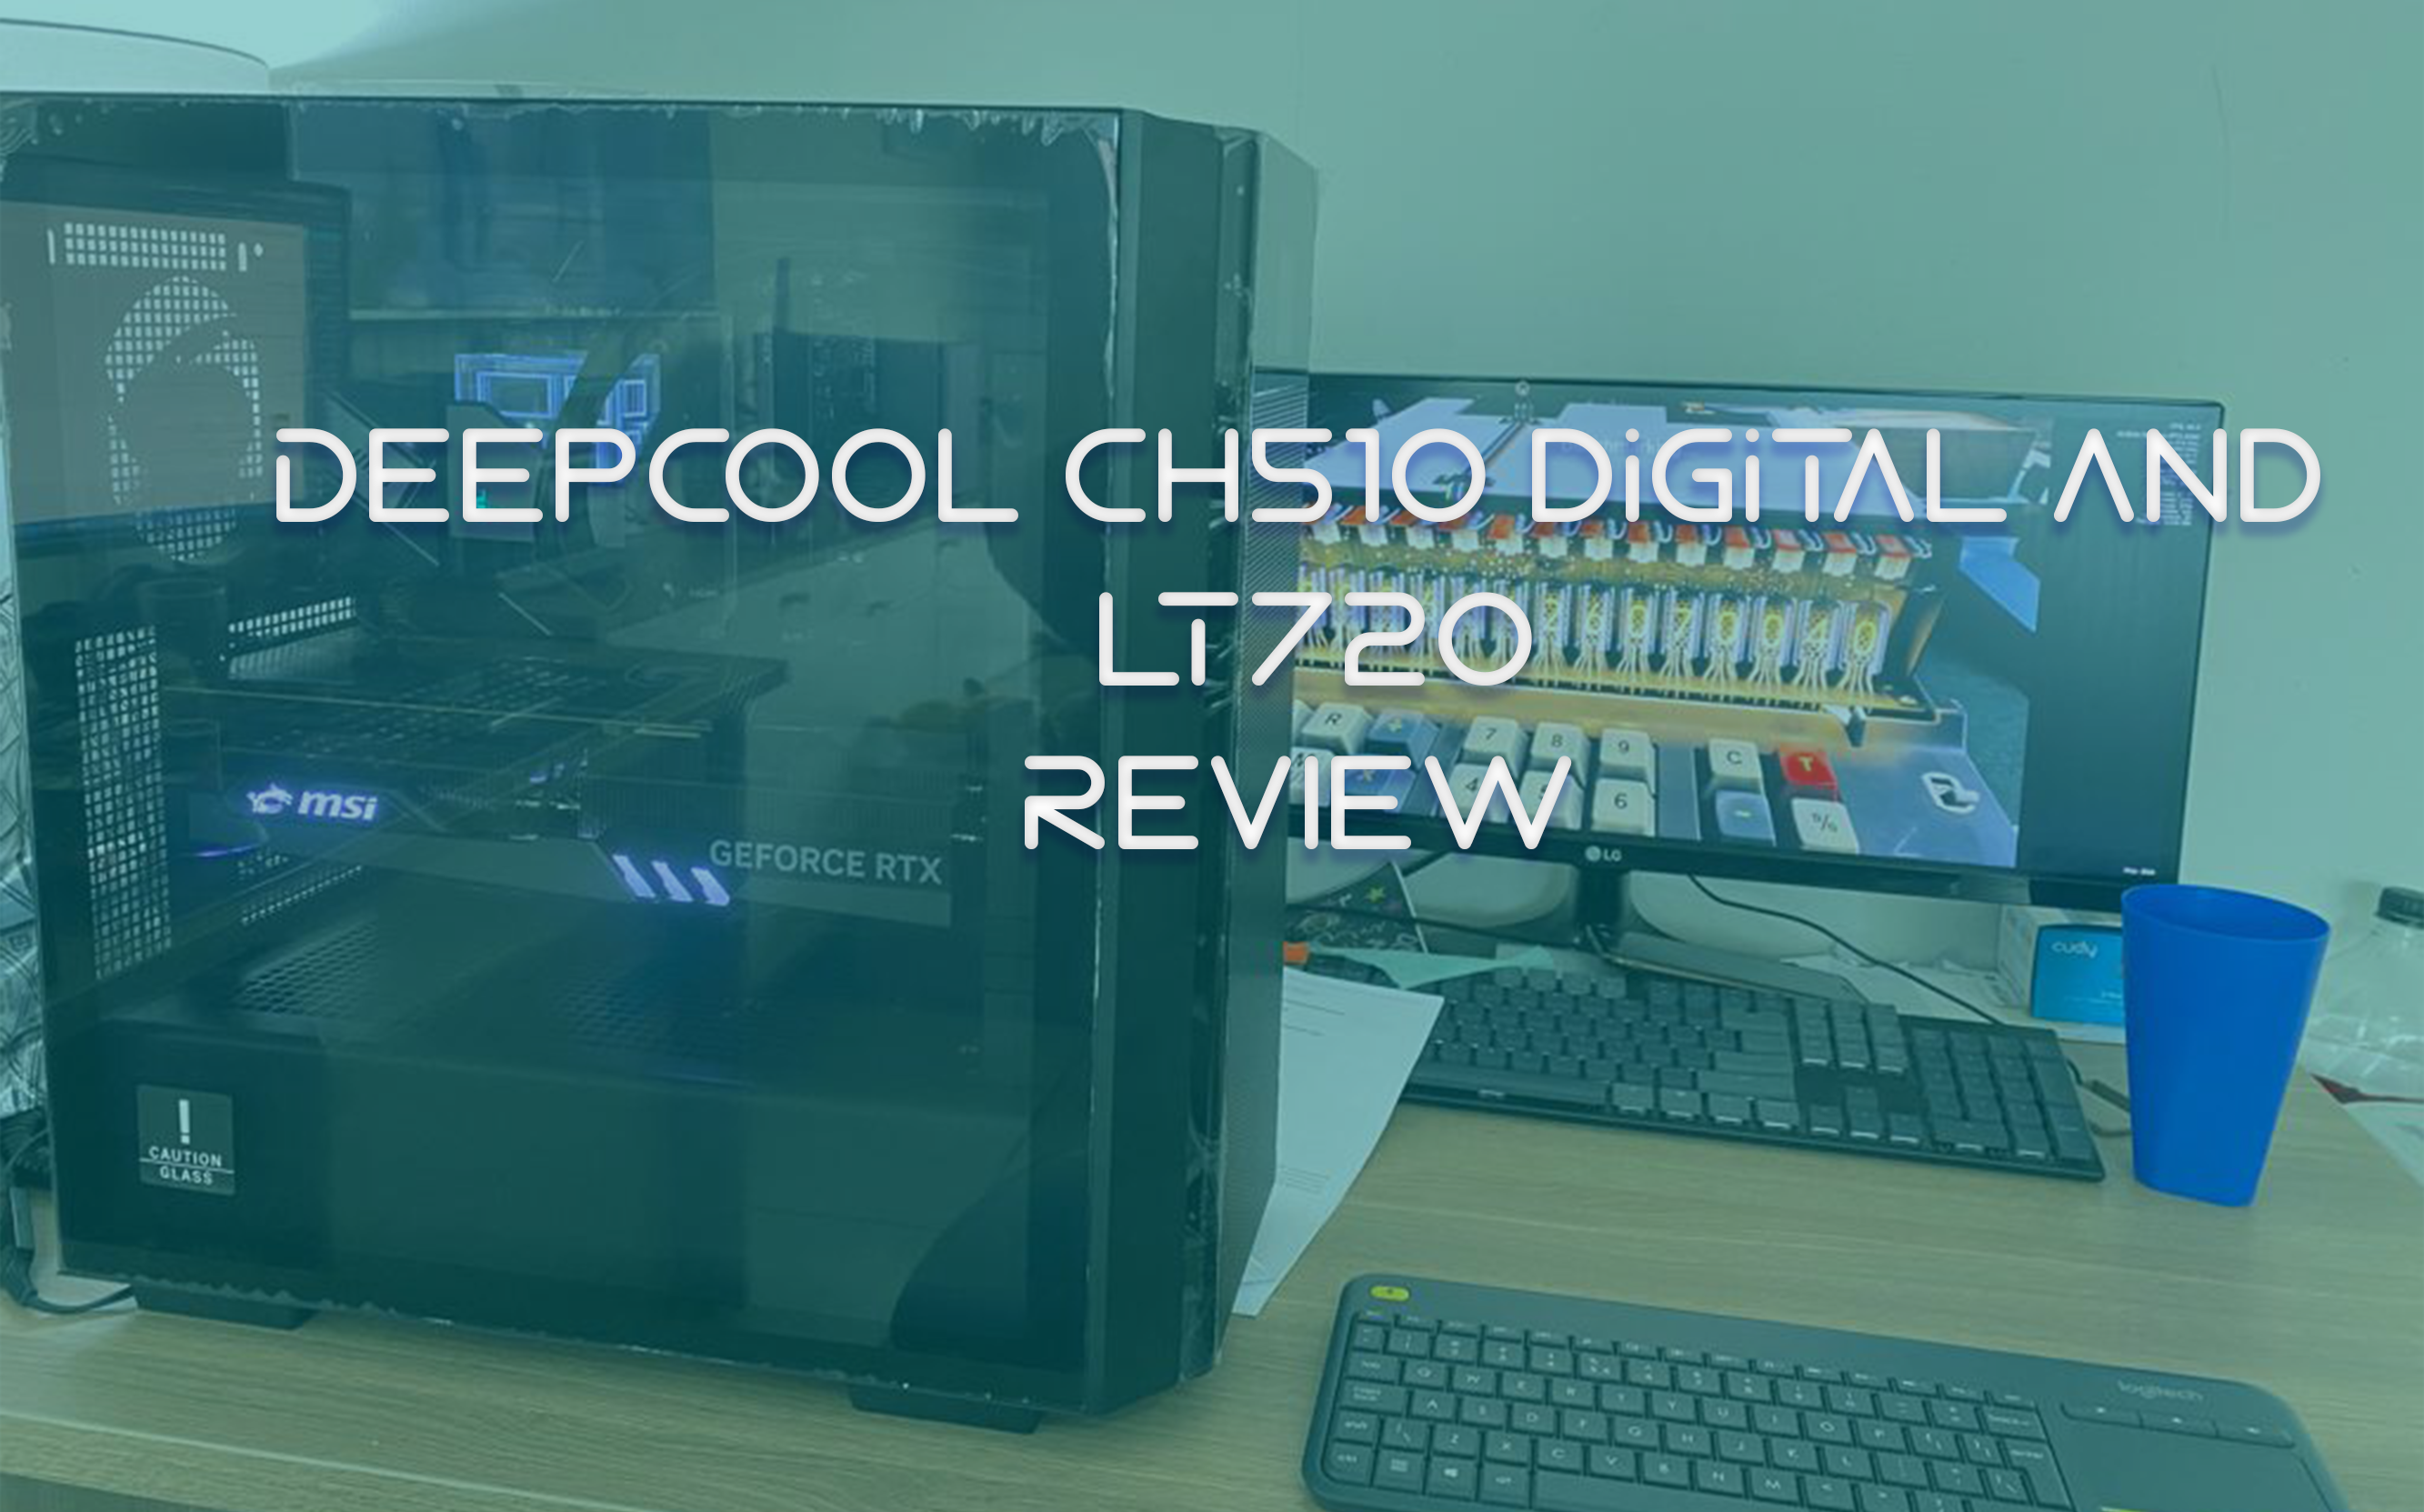
The Deepcool CH510 Digital and LT720 Review… Can a RTX 4090 fit?
So ever wonder what case to get for your Gigantic RTX 4090…
Well here is a size idea for you.
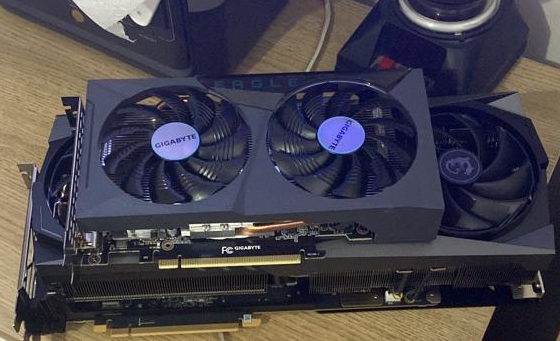 ~A RTX 3050 on top of a RTX 4090~
As you can see its big so big its longer than the Cooler Master NR200. So what case did we look at for our client who did not want RGB fans which is fine even our Build lacks RGB for the simple fact the Black look just hits the right notes.
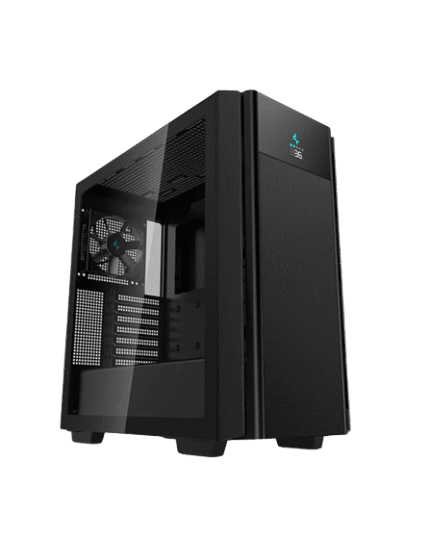
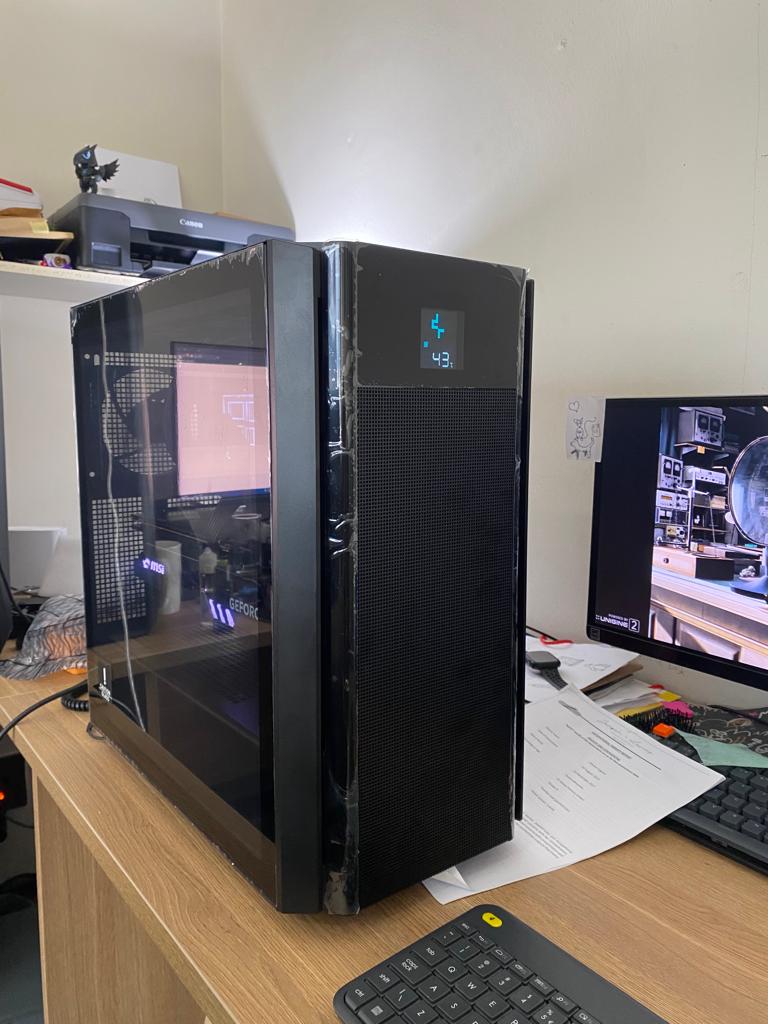
Introducing the DeepCool CH510 Digital
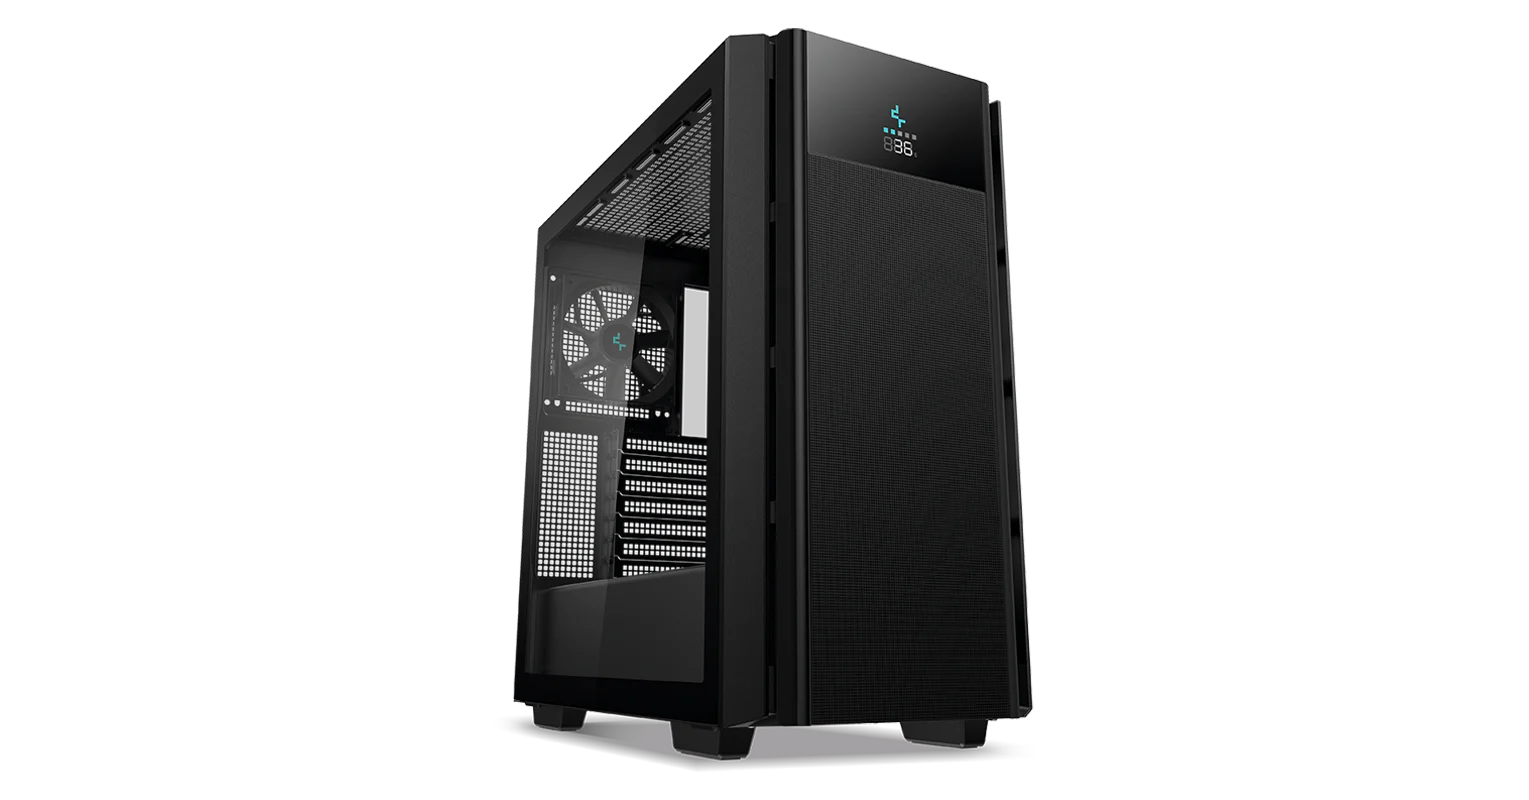
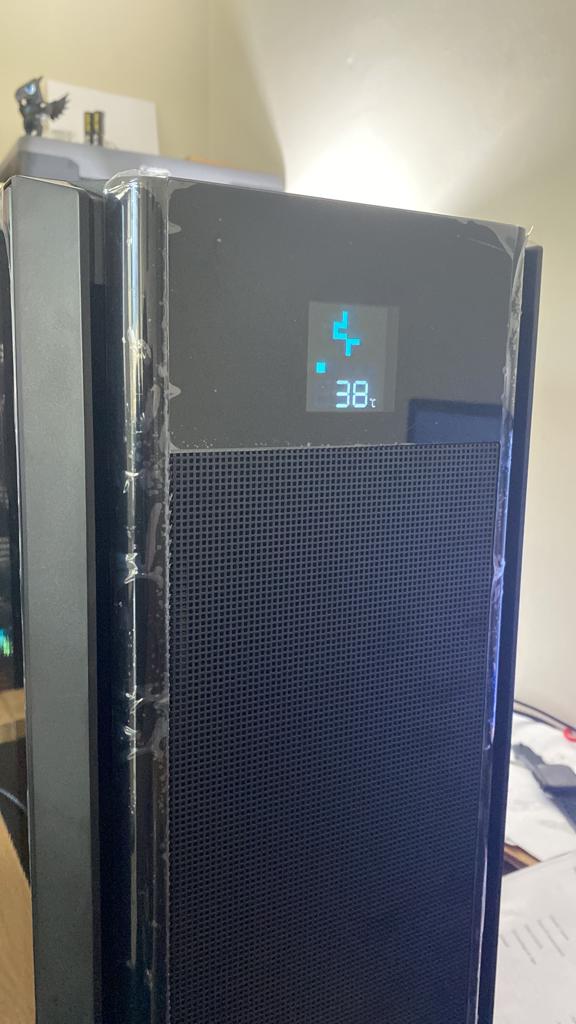
This is a great case i must say with a really cool function and that is temperature reading on the front panel.
Now to add to this the specs of the Build is
Deepcool Ch510 Digital
Ryzen 7 7800x3d
MSI X670-P Wifi Mobo (Great board by the way)
32GB DDR5 Ram (2 sticks)
2TB Nvme drive
RTX 4090 Gaming X trio
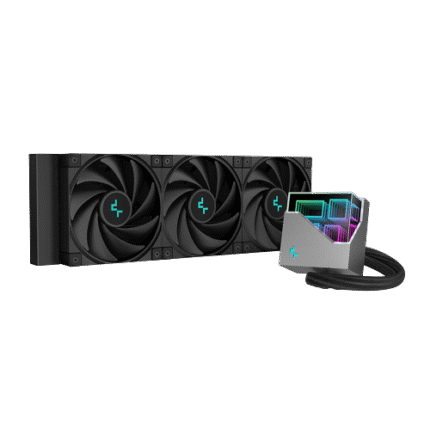
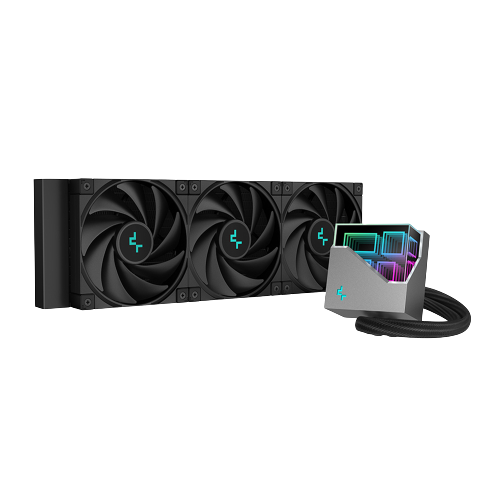
DeepCool LT720
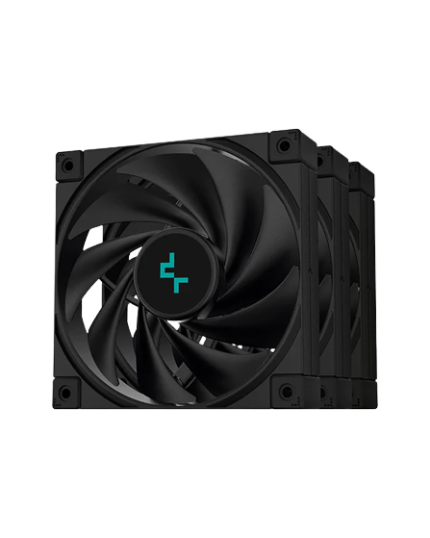
FK120 3 pack fans (DeepCool same fans as on the AIO)
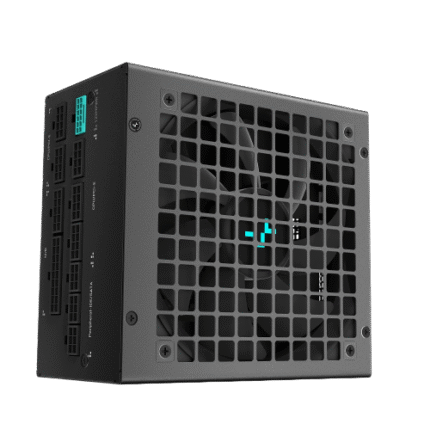
1000W Gold Full Mod ATX3 PSU
Really fast machine but lets talk about the case.
According to DeepCool this can fit a GPU length of 380mm sounds nice and deep for a card. Given that a Reference card like the RX7900XT is 276mm and its pretty long (for a 3 fan card) and 2 slots. Now the Gaming X Trio in a RTX 4090 is 337mm and 3 slots so yeah its a thick card and long.
With this in mind and the amount of 43mm to work with for the radiator this should fit. Now on this the 360mm fan would do well on top or so we thought. The radiator is quiet long so i believe either i couldn’t figure it out (really just couldn’t go in on top) or this is for thinner radiators). As of writing re checked the manual and the only way i can see how this will go in is from the front side But cant see how this radiator goes in without knocking on the sides. I’ve seen Youtubers setups with the LS720 which is the same Radiator so Seems like its just me at the time of building. Personally front radiator will catch cold air from the front while Top would suck out heat which will go against the radiator. This is of course preferential to users.
otherwise in the front would suck the air in from all 3 120mm fans and sucks out from top and read (Top we installed 3x 120mm fans sucking out while the radiator was sucking in) to me this makes sense. and the Pre-installed 120mm fan in the rear we left alone but hooked it up to the hub with the top 3 fans so they sync.
This creates good airflow but with one small limitation. is installing the GPU afterwards as it is so big without hitting the fans etc.
The Result this (see below).
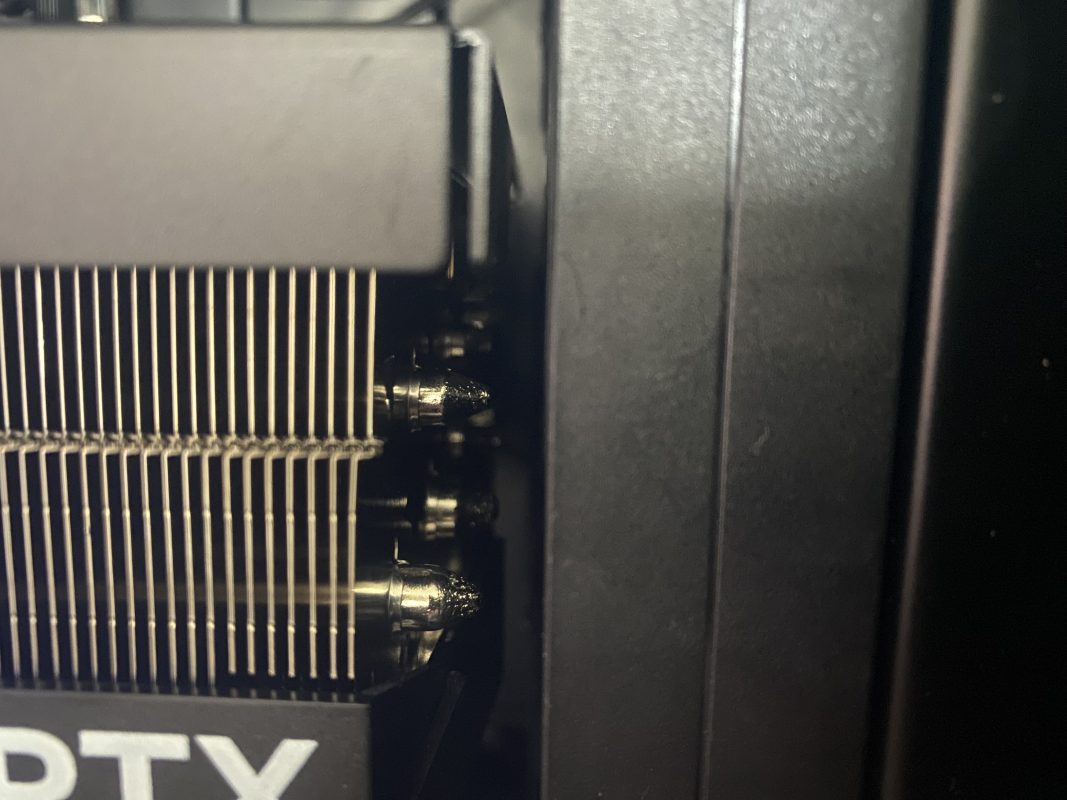
As you can see enough space for air to flow and on the card too with this in mind you can use the LS720 or the LT720 Cooler on this case with a big card but keep in mind the dimensions of the radiator.
Otherwise the case is pretty standard with bag of screws and zip ties maybe they and this could be me but throw in more zip ties with the case. The one thing i didn’t find in the manual was how to get the digital tempo to start. This was after going back to DeepCool’s website to download the software (no CD or link on the manuals unless we missed it. Also comes with Anti-Sag mount great for those heavy long cards despite some cards like MSI comes with the Anti-Sag plate. But the DeepCool’s anti-sag is very stealthy so you just wont see it as it is
So once after installing all the components and the OS we ran the software and you can basically let it run when windows boots up either GPU temps or the CPU temps this would get its feed from the motherboard and the software as the connector will be using the USB header on the board so do make sure you have at least 1 USB header (should) in order to use this amazing case.
Lets talk about the other features. You got the ability to add 1 HDD in 3.5″ sizing and 2 Drives on the side panel each 2.5″ sizes so either mechanical laptop drive or a 2.5″ SSD and there is enough space for cable management. with lots of room by the power supply too. What we loved is that there was enough space to slide the CPU power cable with ease and this board took 2x 6pin for the CPU.
A full sized ATX board fits nice and snug with a new mm on the edges to space (enough for a header cable)
What i find also quiet nice on this case as it is smaller than our Cooler Master SL600M black edition (review will come later) but some how has more space inside this is done very well in its design.
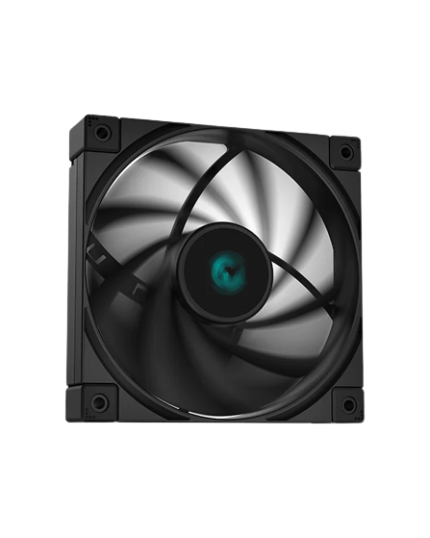
you can put the Storage in without any issues. Fit a max 9 fans total at 120mm each So 3 on top 3 on the front 2 on the PSU shroud (bottom) and 1 in the read which is pre installed.
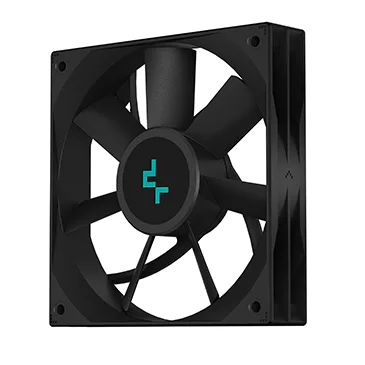
Pretty standard interesting blade positions. Found that the airflow from it wasn’t the best but still did its job when we tested it out and that’s the important thing is that it works and depending on your need not too load. Which these are not loud at all.
Simple and easy to build in.
Do you need to refer to the manual Not really its pretty standard with 3 Cables going to the F_Panel header POWERSW, RESETSW an HDD LED. The HDD LED basically a tiny LED on top of the case in white. With a USB 3.0 header for the USB’s and a Type C cable for the Type C port as well as a Audio for the Front panels audio output (on top). As mentioned the USB cable for the LCD display.
The side panels are basically held by screws that are built into the panel (side panel) while the display side is tempered glass being held with two strong magnets on top there is a notch on the rear top to pull should you need to open it up for any reason. Nice and simple and sleek design.
Looks wise this will be a clean and sleep black look on your desk. Can definitely recommend this case if you looking for a normal and no RGB setup this is definitely the case for you especially with Large Air coolers of a max 175mm height and Graphics cards depending on your Front panel set up max 380mm otherwise those in the 330’s and like in this cards situation 337mm any more then it touches if you using an Aio on the front panel. With lots of screws available for future modifications or add-ons.
It is important to understand that with a case like this that has a USB-Type C to have a motherboard that caters for this connector should you ever do get USB-Type C port for fast accesses to storage media.
Verdict
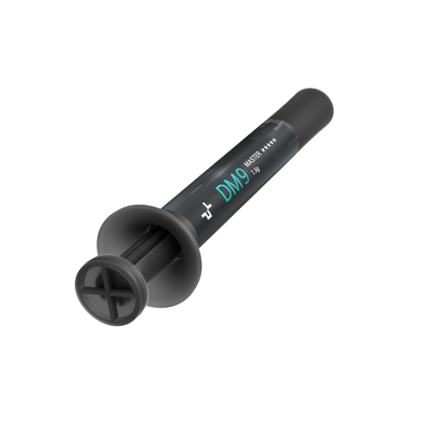
With a case like this i can see its design lasting a good long time. Great airflow from the front panel with a magnetic meshing in the front and on top of the case is great to prevent dust from coming in. Easy to remove to clean. The Digital LCD helps while gaming to watch your temps as in the photo above running a 8K optimized benchmark ran the CPU on a decent 43 degrees Celsius Using the Latest thermal paste from DeepCool DM9 (review shortly ) as well as the LT720 makes a great combination to work with.
The threading to screw components in just works no fiddling around its with great ease to build in this case with plenty of space.
Pros
- Great Airflow
- Fits large components like RTX 4090 Graphics Cards
- Comes with 1x rear fan
- Plenty of space for cabling
- Decent amount of drives to install
- Tall Heat sinks compatibility up to 175mm tall
- LCD Display for Temperature monitoring
- Comes with Anti-Sag mount for large Graphics cards
- Mesh covers that are magnetic for easy cleaning.
- Simple Manual with basic instructions easy to read and follow.
- Top and Front Radiator support.
Cons
- Only comes in Black options (at the time of writing)
- No Vertical Graphics Card support
- LCD Display requires software to be loaded on windows and running in the background in order for it to work.
- Fan installation on Top the threads could be smaller if screws too tight goes right through (best to watch how you tightening it not too tight but tight enough)
Great case with many options. If you looking for a stealthy looking case with plenty of space in just pure black this is the one for you.
So now lets talk about the DeepCool LT720 AIO
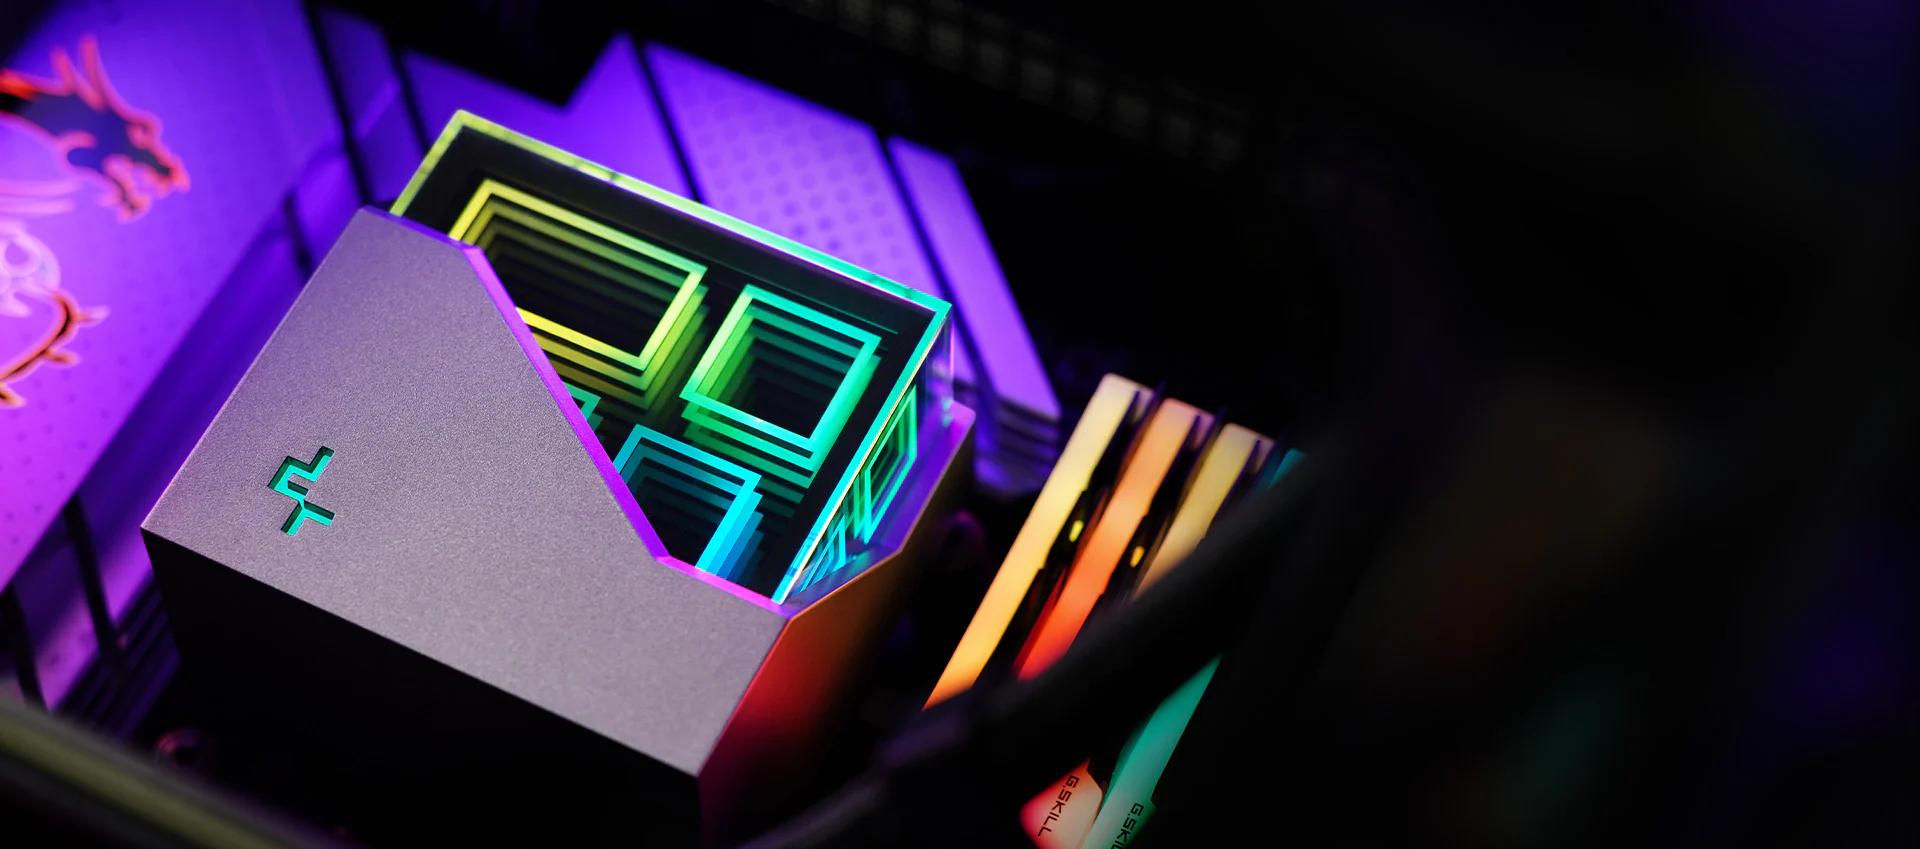
First off fantastic design with the only RGB is the Pump which is holographic look on the squares.
Installing the fans on this is pretty straight forward with little effort do recommend a Phillips screw driver as it can be tight).
Pump wise the bracket supports
sTRX4/sTR4/AM5/AM4
We installed this on a MSI X670-P Wifi motherboard and all you had to do is remove the plastic bracket on top and install standoff screws and there just mount it easy and done. Does come with a back bracket for Intel boards.
Comes with fan linkage so you can unify the fans into 1 header which are long enough to connect to a hub or directly onto the motherboard. With the ARGB header has a split in case you need to connect another ARGB connection into one header.
Now according to DeepCool this reaches 32.9 dB on the Fan noise which is quiet to start with. and the pump which i just couldn’t hear anything but specification wise states that it’s 19 db.
This was installed on a Ryzen 7 7800x3d which ran nice and cool kept it in the 40 degrees Celsius range even running a stress test with OCCT ran at a cool 43-45 Degrees Celsius
Pros
- Sleek Design
- Quiet pump and fans
- Large socket compatibility
- Easy install
- Already applied thermal paste
- Pump ARGB Cover magnetic
Cons
- ARGB is controlled by the motherboards ARGB software (not a bad thing).
This in mind there is little on the cons really not a con to be honest. If you looking for black setup you can just turn the ARGB completely off. Otherwise its a nice holographic look. Can definitely recommend this cooler especially for higher end CPU’s